Hyundai Elantra: Front Seat. Repair procedures
Replacement
Seat Assembly Replacement
| 1. |
Remove the seat assembly mounting cover.
|
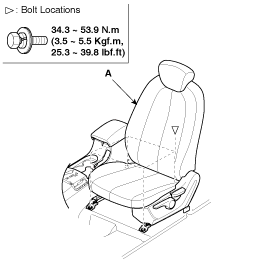
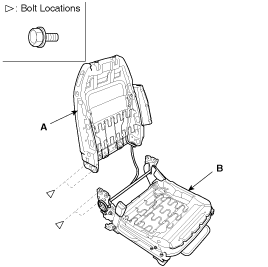
| 2. |
After loosening the seat assembly mounting bolts and nuts, remove
the seat assembly (A).
|
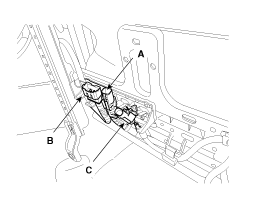
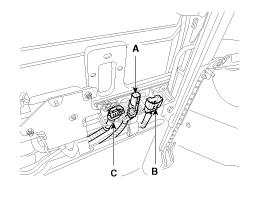
| 3. |
Disconnect the connectors, and remove the seat assembly.
[Driver's]
[Passenger's]
|
| 4. |
Installation is the reverse of removal.
|
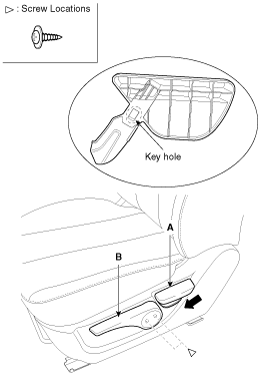
Recliner Cover Replacement
[Driver's]
| 1. |
Remove the height lever cab.
|
| 2. |
Remove the recliner lever (A).
|
| 3. |
After loosening the recliner mounting screw, then remove the height
lever(B).
|
| 4. |
After loosening the mounting screws, then remove the recliner
cover (A).
|
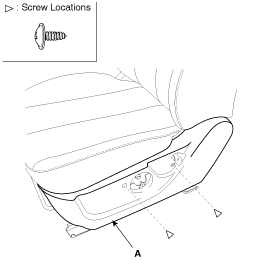
| 5. |
Remove the recliner cover (A).
|
| 6. |
Installation is the reverse of removal.
|
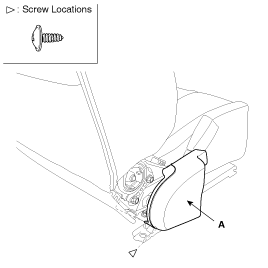
[Passenger's]
| 1. |
Remove the recliner lever (A).
|
| 2. |
Remove the recliner cover (C).
|
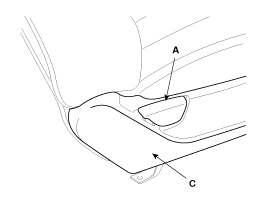
| 3. |
Installation is the reverse of removal.
|
Seat Back Cover Replacement
| 1. |
Remove front seat assembly.
|
| 2. |
Remove the recliner cover.
|
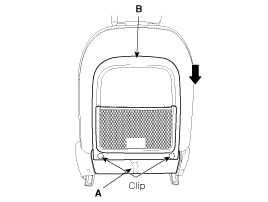
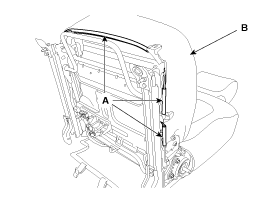
| 3. |
After disconnecting the scuff band (A), remove the seat back panel
(B).
|
| 4. |
Disconnect the protector (A) from the back frame.
|
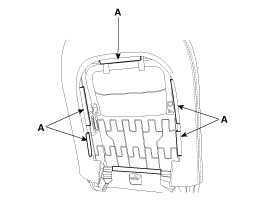
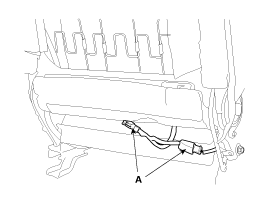
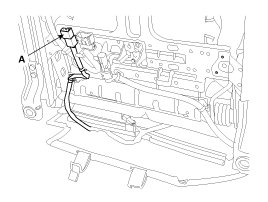
| 5. |
Disconnect the connector (A).
|
| 6. |
Remove the headrest and headrest guide (A).
|
| 7. |
After removing the tape on the front of seat back remove the seat
back cover (B).
|
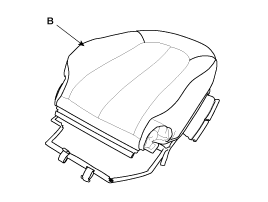
| 8. |
Installation is the reverse of removal.
|
Seat Cushion Cover Replacement
| 1. |
Remove front seat assembly.
|
| 2. |
Remove the recliner cover.
|
| 3. |
Disconnect the connector (A).
|
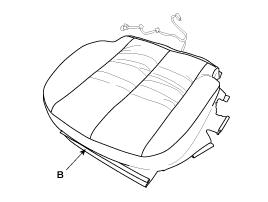
| 4. |
After disconnect the protector (A), then remove the seat cushion
(B).
|
| 5. |
After removing the hogring clip on the front of seat cushion and
remove the seat cushion cover (B).
|
| 6. |
Installation is the reverse of removal.
|
Seat Frame Replacement
| 1. |
Remove the following items.
|
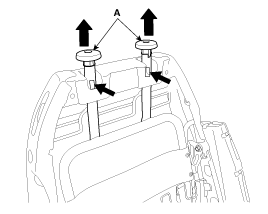
| 2. |
After loosening the mounting bolts, then disconnect the seat back
frame (A) and seat cushion frame (B).
|
| 3. |
Installation is the reverse of removal.
|
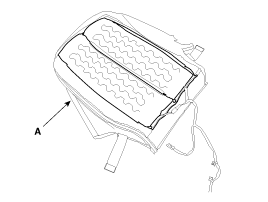
Seat Back Heater Replacement
| 1. |
Remove the seat back cover(A).
|
| 2. |
Install the seat back cover.
|
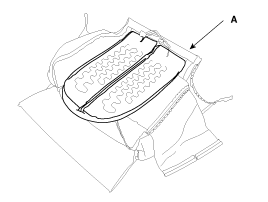
Seat Cushion Heater Replacement
| 1. |
Remove the seat back cover(A).
|
| 2. |
Install the seat back cover.
|